Profile Image
In addition to a logo design a profile image is another means to visually convey the idea of a project and be recognized. It may determine whether or not somebody will read, watch or listen to your content. Thus, it’s favorable to use one and the same profile image for different services and take some time to think about how to best show your personality in context of the project. This article is supposed to be the documentation of my approach using the Open Camera app to take a picture and editing it with GIMP.
Photo shooting
I decide to take a picture of myself playing guitar in a recording situation. As drums play another important role in my music and I started learning them I locate myself behind my e-drums. Additionally, I arrange my acoustic guitar, notebook and audio interface to fill some space in the background. I don’t like showing off gear and brands, as such an image soon would look like advertising. As a result I choose a perspective that hides manufacturer information.
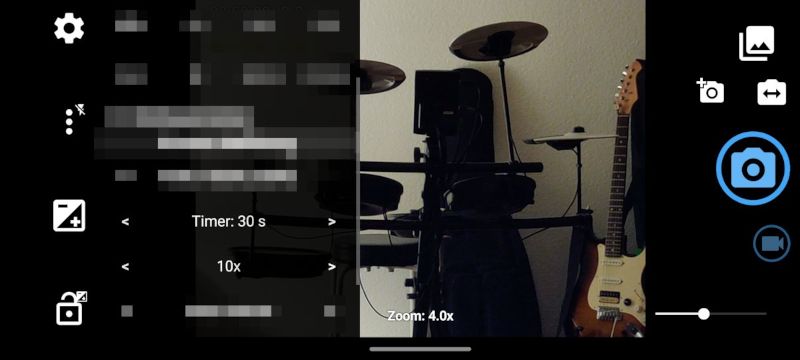
Popup menu of the Open Camera app (irrelevant elements are blurred
Using some boxes as a smartphone stand and the timer and repeat function in the popup menu of the camera app I can take some pictures while playing the guitar. This makes the images look more authentic than just portraying in front of the camera. However, it may take some attempts to get a shot that appeals to you.
Image editing
The pictures are transfered to the computer and viewed on the bigger screen. The one that appeals to me is opened in GIMP for the editing process. First, I apply White Balance to automatically correct any color dominants of the light source and obtain a good foundation for further adjustments.
As the wall and most of the instrument parts are white, the idea is to increase the brightness and maximize the contrast level until some edges get lost to create a posterization effect. Though the Posterize tool can be used to achieve this effect I like to manually fine tune the settings via Brightness-Contrast.

Split view of the Brightness-Contrast tool in GIMP
Next, the Desaturate filter is used in Luminance mode to convert the colors to shades of black and white. This way the image can be colorized using a custom color using the Colorize filter dialog and full opacity.
Profile images are typically squared. Consequently, the final step is to use the
Crop tool and specify the same
amount of pixels for the horizontal and vertical size of the crop-rectangle in
the Tool Options. I drag the crop-rectangle over an area that appeals to me
and press the <Enter> key to apply cropping. You have to decide which area in
the image is most important and discard the rest of it. If your camera supports
it, you can also choose a squared camera resolution in your camera app to skip
this step. However, I like to use the maximum resolution and crop afterwards.
File size reduction
Most platforms and services limit the dimensions and file size of uploaded
profile images. Depending on the amount of information in the picture the file
size can be varying. As I drastically reduced the colors by posterization the
color mode can be changed to
Indexed. However, in
my case this doesn’t decrease the file size significantly. Thus, for images in
JPEG1 format the quality is a key value for
compressing images.
This value is set in another dialog that appears after specifying the file name
and .jpg extension in the Export image dialog. A quality of 75 percent
typically produces a reasonable image with a small file size. In my case I can
even go down to 20 percent without any perceptible degradations and gain a file
size of less than one third.
Ultimately, ImageMagick’s convert tool and its
-resize option can be used to create typical dimensions. For example, a 1200
pixels version is created by the following command:
convert profile.jpg -resize 1200 profile-1200x1200.jpgMy best practice is to try uploading the original image and create a resized version if necessary according to a potential error message or field note in advance.
Resources
Repository: https://dri.ven.uber.space/thisven/Identity/src/branch/main/profile-image